


You might be interested


Building sandcastles at the beach during summer is a favourite pastime of many Aussies. But how do you progress from the classic bucket castle to start making sandcastles like the pros?
Professional sculptor Tim Darby of Sand Sculpture WA has some hot tips.
THE RIGHT SAND
Tim says WA’s beach sand isn’t suitable for serious sand sculpting.
This is because the sand along our coastline is very old, making the particles too round from years of erosion.
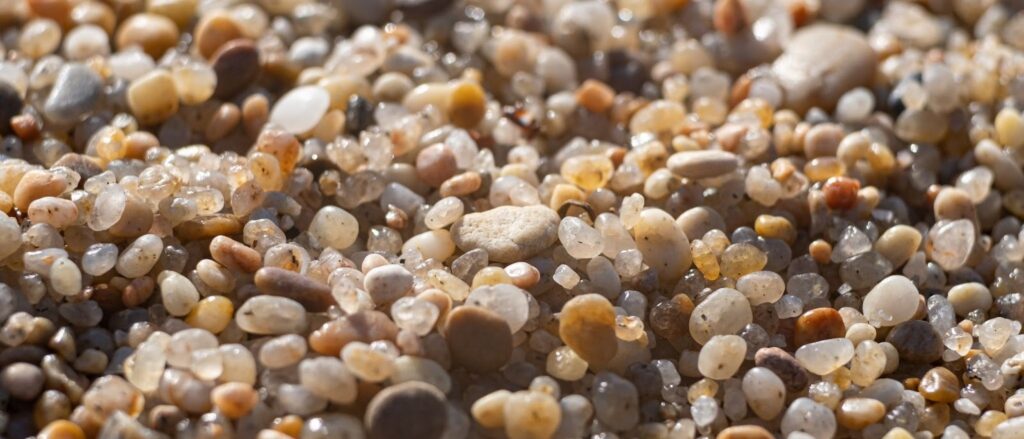
Credit: Barry/stock.adobe.com
Instead, he recommends using brickie sand.
“It has the silt content, it has the clay content and the grains are sharp. That means, when you compact it, the grains bind to each other,” says Tim.
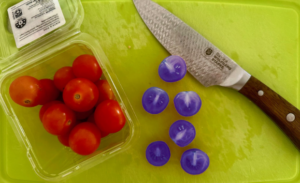
To test whether your sand is castle-worthy, Tim suggests you “get a bit of sand … and put some water in”.
“If you can make it into a ball and roll it around without it cracking, then you can carve it,” he says.
A FIRM FOUNDATION
Every sculpture needs a firm foundation and the key is compaction.
To achieve this, Tim uses formwork (a timber box with no base or lid) and layers damp sand inside, compacting it as he goes.
“Compact a handspan [deep] at a time,” says Tim.
This ensures the sand is evenly compacted throughout and the formwork can be removed without the sand crumbling.
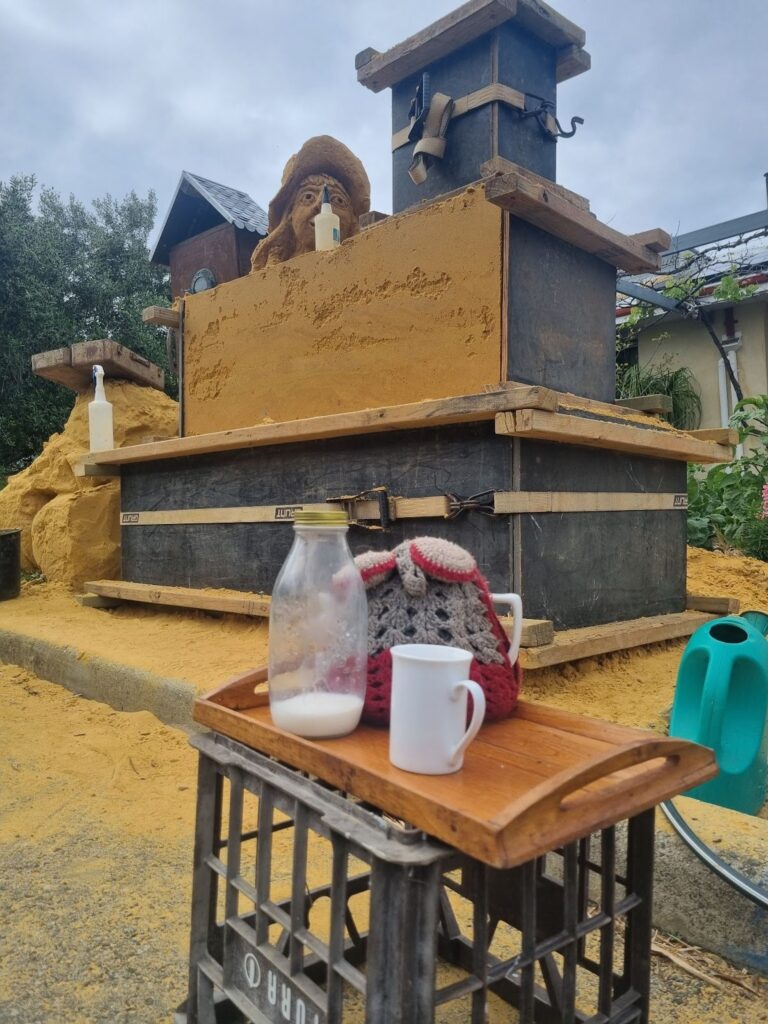
Credit: Shani Graham, supplied Tim Darby
HOLD IT TOGETHER
Compaction alone isn’t enough to hold a sculpture together. It needs to be wet.
Water serves as a sort of glue – forming liquid bridges between the grains of sand.
The high surface tension of water, combined with angular sand, enables the water to adhere to the grains and pull them closer together.
“You have to get the moisture content right initially, but ultimately, as the water evaporates, [the sculpture] hardens,” says Tim.
As the sand dries, the strength of the water bridges between the particles increases, interlocking the angular grains and hardening the sand.
But how much water does a sandcastle need?
The best amount is hotly debated. The common theory is a 1:8 water to sand ratio, but some scientists think as little as 1 part water to 99 parts sand is actually needed.
Get into the scientific spirit and test your own ratios – how much water works best for your sand creations?
IT’S TIME TO CARVE
Now that your sand is tightly bound together, it’s time to get sculpting.
Tim’s sculptures appear delicate but are quite strong. He achieves this by maintaining strong vertical supports throughout his design, like pillars supporting a bridge.
“Compact sand is really good under compression but not under tension,” says Tim.
Suspended sand is under tension, but thanks to compaction (and water), the grains stay interlocked and can span small distances.
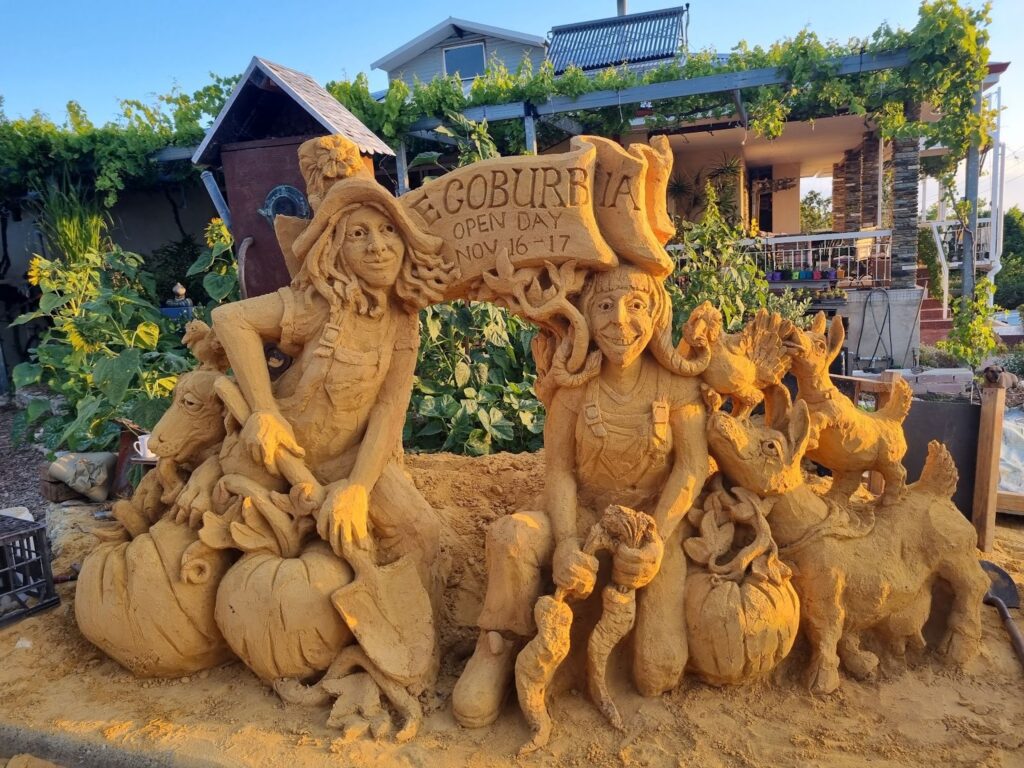
Credit: Shani Graham, supplied Tim Darby
LEVEL UP BY CARVING DOWN
To become a master sculptor, Tim says you have to follow the ethos “carve the form, add the texture”. This isn’t the standard sandcastle ‘build as you go’ method.
First, build your height. Then carve from the top and work your way down. That way, you’re not covering your masterpiece with unwanted sand.
If your sculpture requires more detail, add sand by using a wet slurry and carve away.
“If you were doing that sculpture in stone, steel, wood, it would be 6 months. Sand takes only 3–4 days!” says Tim.
Although the beach may be a tricky location to create a masterpiece – factoring in wind, waves and beachgoers – it’s the best spot to build a sandcastle.

